How Dashing is Your Dashboard?
I was in the optician’s the other day, and when waiting to be seen (excuse the pun) I was idly looking at the frames on the racks to see which kinda ‘suited’… Then, after the inevitable try-on of a couple of my usual types, I was inexplicably drawn to the more distinctive types… Elton John; John Lennon; Eric Morecambe; brightly coloured ones; metal ones; bendy ones; indestructible ones; and let’s not forget the Michael Caine look! You never know! -but not a lot of people know that!
But I digress..:
- Q. What’s the first thing people look at when getting close-in-and-personal after circling your car with ever so much intent?
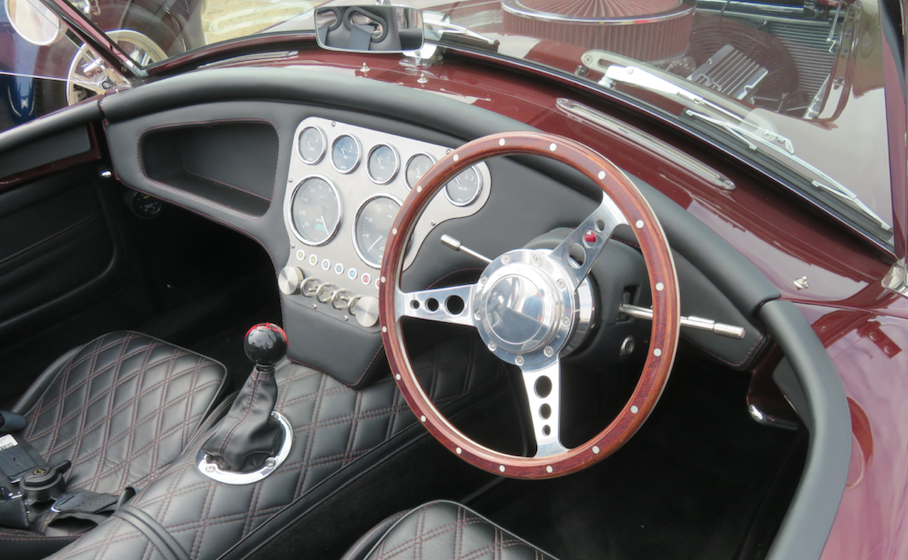
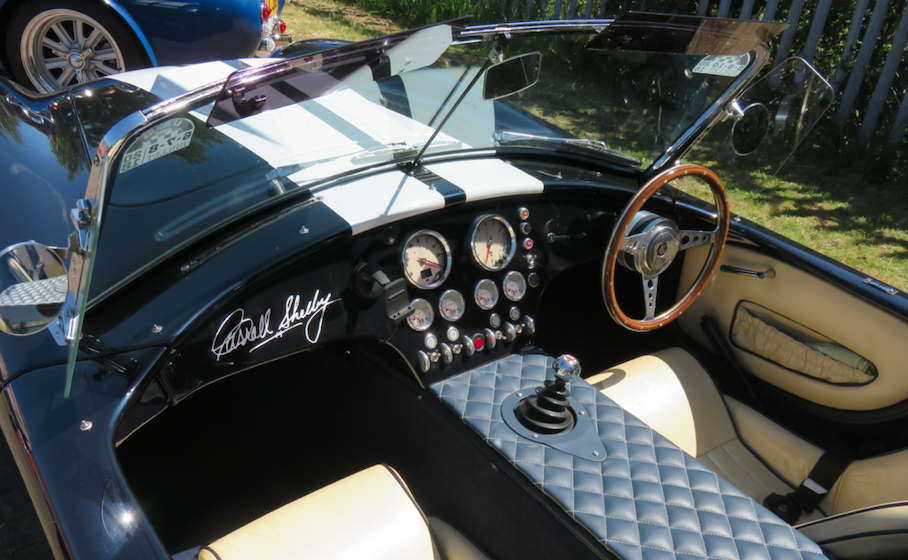
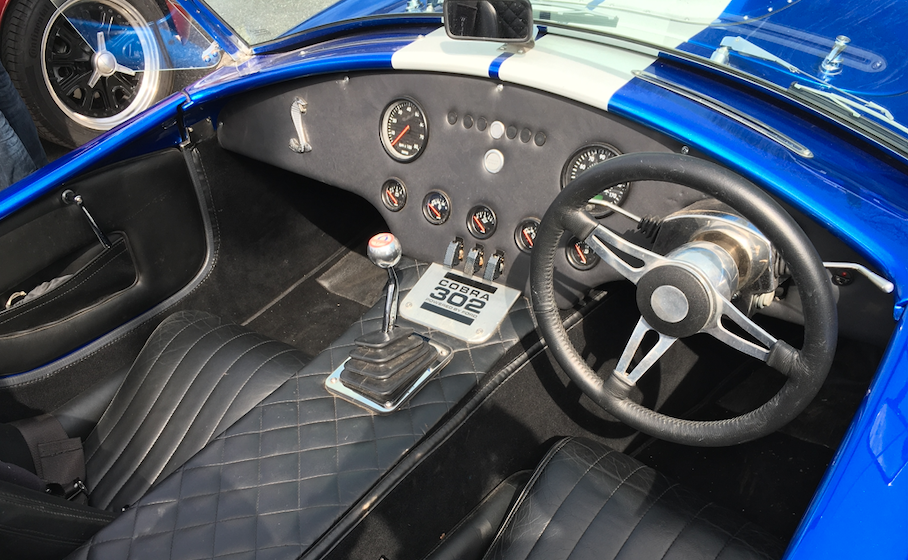
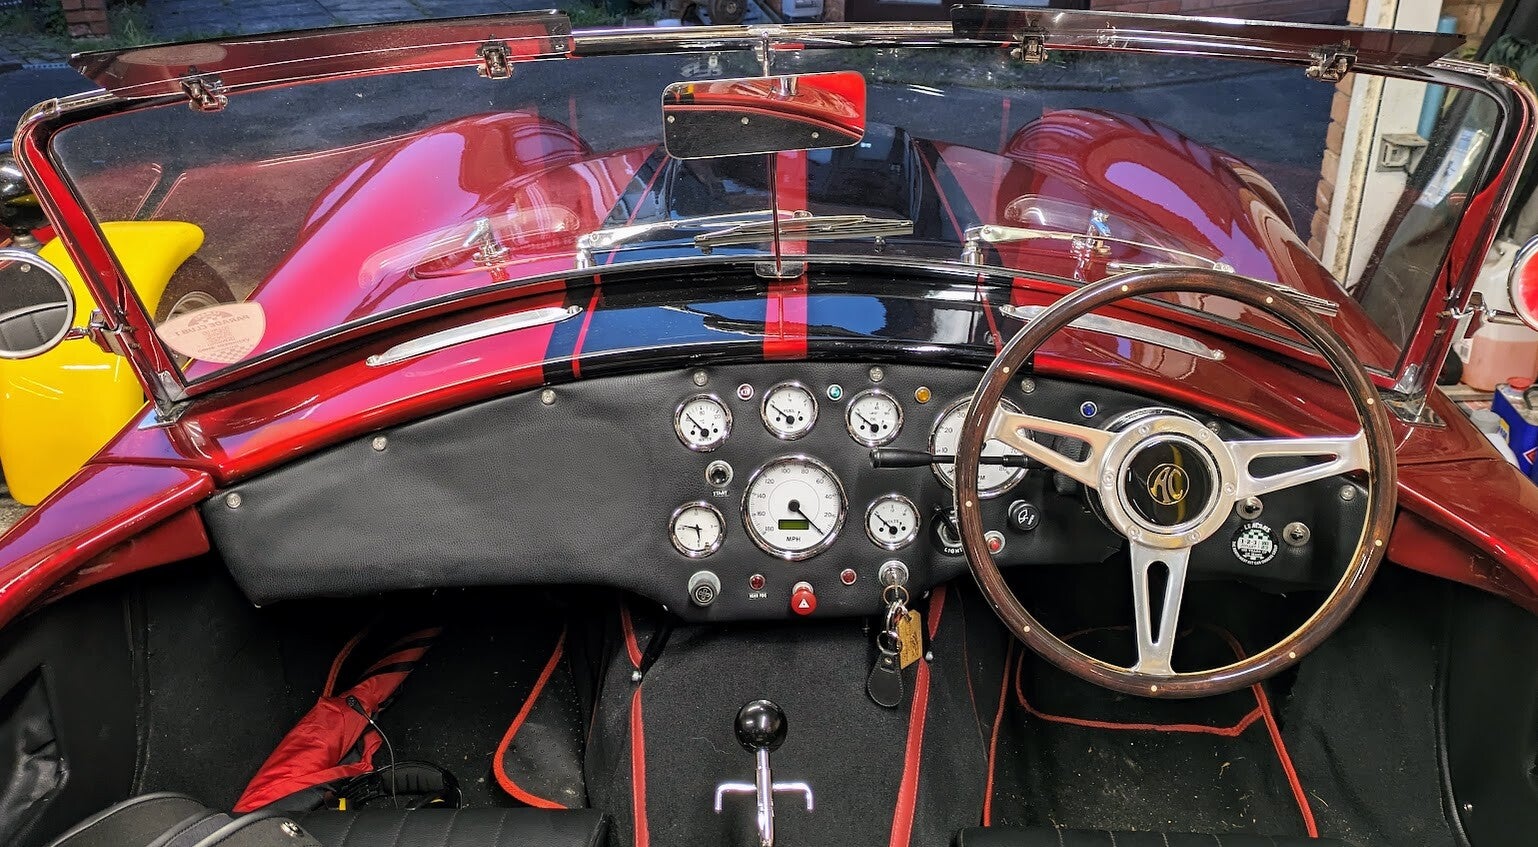
- A. If the bonnet’s up, it’ll be the engine; if the bonnet’s down, it’ll be the dashboard! So let’s ponder our dashboards and how we decided to do what we did.
Personally, and during the days leading up to me placing an order for my car, I didn’t give the dashboard, or anything else really, too much deep thought; but when I had crossed the threshold from ‘wanting’, to ‘placing’ an order, that’s when the devil-on-my-shoulder fidgeted more than usual and whispered louder than usual in my shell-like…
So, to not get too distracted and to not be guided further down the road to Perdition, I had to focus on the misty and murky detail, and I had to think really hard about what I had done and what I really had to do…

…The clock was ticking!

With respect to the dashboard, and incidentally a million other things, I quickly realised it wasn’t quite as simple as buying the bits, drilling a few holes, slotting in some gauges and switches, and getting creative with some glue and some sticky-backed plastic.
And having now realised how important a feature the dashboard is, there were many ways I could have gone…
I could have done what most builders do, that being following a traditional design or tinkering on a traditional theme. Or, I could go completely off-piste and create a retro design that wouldn’t look out of place in the cockpit of a SpaceX command module or upfront on Fireball XL5.
It was ‘make-my-mind-up-time’ as to how I wanted the dash to look. I had decisions to make and gauges and switches to buy. ⚙ 🤨 🧐 �
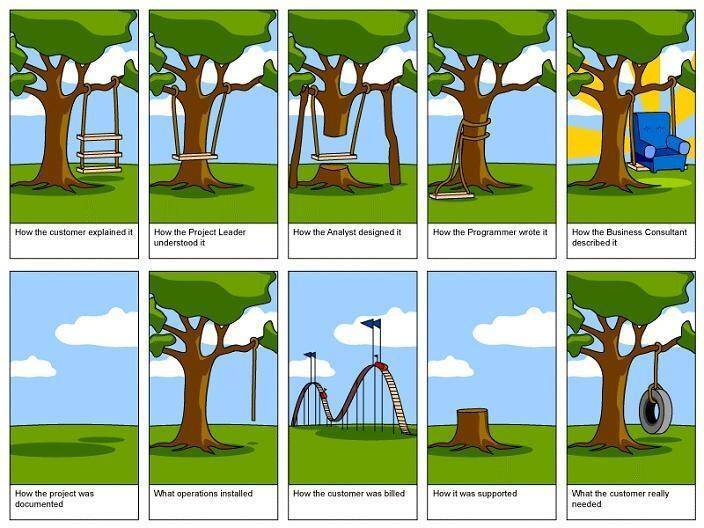
So to illustrate, here is a journey most of us can relate to…
I’ve categorised my process into sections:
1. The Theme
2. The Design
3. Measuring Up
4. Upholstery

1. The Theme: The three ‘traditional’ themes are: 427 S/C (Semi/Completion), 427 Roadster, and the AC 289 Sport. And within these themes, or any other we dare to consider, we could use: GRP or wood (polished or varnished or covered); carbon fibre; or maybe even metal.
The Bling… It depends! It’s yours to do what you want, and you can make it as blingy or as minimalistic or as flashy as whatever takes your fancy.
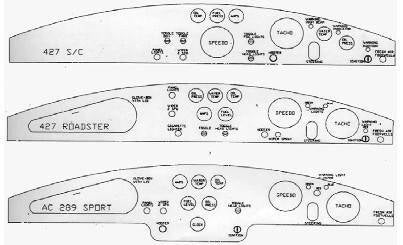
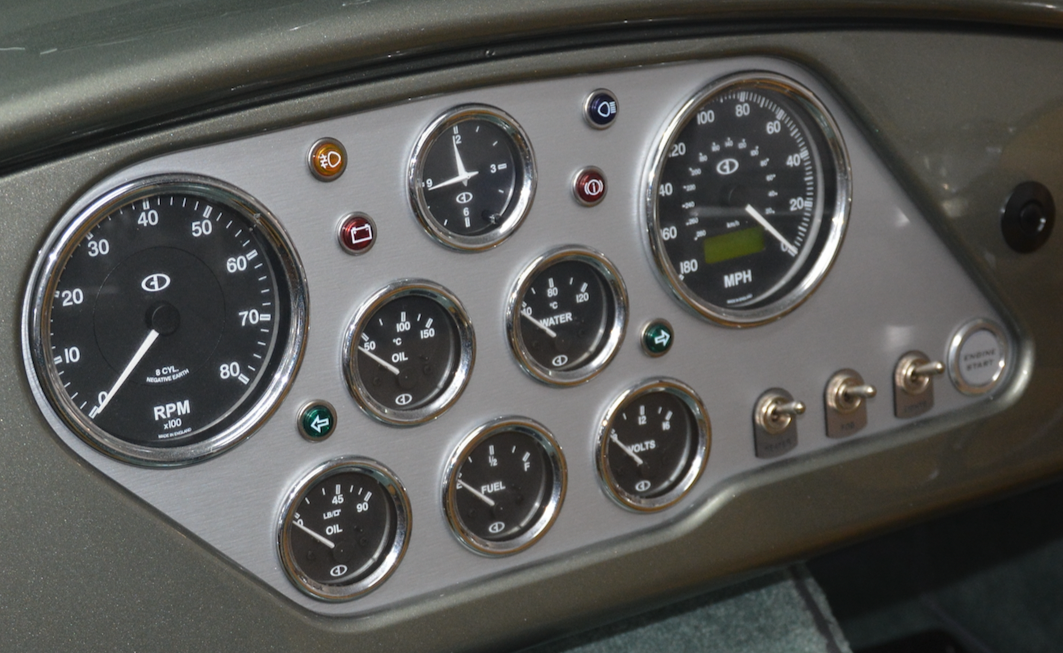
And the gauges..! What size and type? Analogue or programmable digital? And the style and bezel shape? 90-degree pivot sweep from the top or bottom, 270-degree centre pivot sweep! And what colour? Colour coordination obviously includes: gauge face, needle, and backlight colour... And there’s the option of a bespoke logo too!..
And let’s also not forget how all this will look with respect to the rest of the car’s colour scheme… 😕 All this adds up within the spiral development (or is that spiral decline) of the many-branched option tree we must deal with. And the consequence of not going with gauges of the usual type, which might not simply plug into your particular loom, means any deviation could be a very interesting and a very sleep-depriving activity. Some gauge manufacturers, e.g. Speedhut, supply their products with a direct telemetry connection to each specific sensor; and some looms have a single or a couple of engine/dashboard interface plugs, so a loom workaround or a modification to some wiring might be on the cards.
However, for a new build, most of the variation-on-a-theme stuff is moot because we have to conform to IVA regulations. IVA compliance calms things down a bit until you get your Individual Approval Certificate (IAC), then you can make your creation look as spiffy or as flashy or as distinctive as Ben-Hur’s chariot during a breakfast meet-up at the Colosseum. So initially, we do have uncompromising limiting factors as to how creative or how rogue we can get.
2. The Design: The Classic and traditional designs are what most builders start off with. But the modern-day spanner in the works is the steering column.
Columns these days come with stalks that do what stalks do, so practically (in the practical sense) there is no need for loads of switches dotted all over the place.

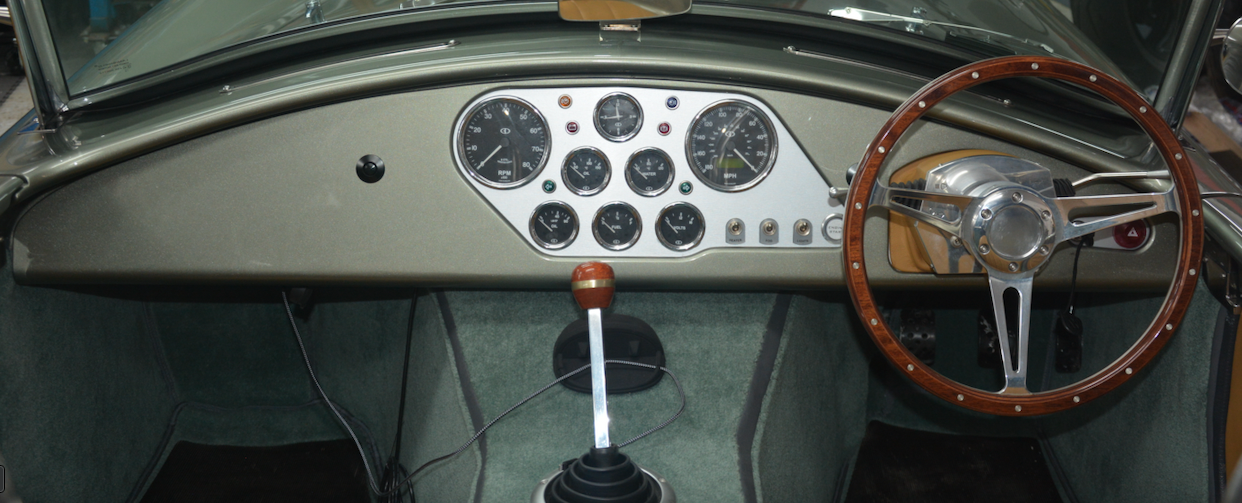
A major consideration too is what’s going on behind the dash. E.g. a pair of big fishtail air vent ducts and associated tentacles of PVC piping, or an ECU module or a glove box, can take up oodles of space and can quite easily get in the way of our vision. Using my dashboard as an example, the design I wanted was along the lines of the classic 427 S/C configuration.
However, as my MkIV Euro came with a modified Vauxhall steering column replete with stalks, a shroud and a shiny boss, I decided to keep the stalks ‘as is’. This reduced considerably what I actually needed to put on the dashboard panel. I’ve also moved a couple of things around a bit, but I’ve kept the 427 S/C theme intact-ish…
3. Measuring Up: The first thing to do was to ensure the dash blank fit the car. Nothing too traumatic here, just hold it in place, mark it up and get creative with a file.
Then it was drilling the holes, but an added factor [or is that an added spanner-in-the-works!] was that, at this stage, I had to decide how I wanted to fix the dashboard in place.
I pondered for ages on how to do this and to be able to remove and get behind it without having to go through a veritable Pandora’s Box of access-enabling procedures.
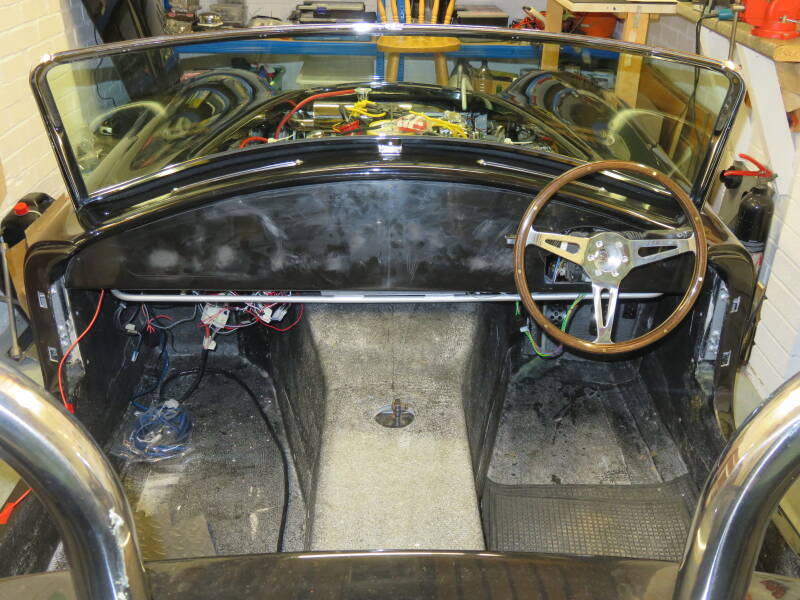
My Plan ‘A’ was for ground-down bolt heads à la Mark Evans in his video "A Car is Born"; but having discovered the ‘Big Head’ fixings, it was Plan 'B' for me… A much more elegant solution... Hold that thought! (I've since changed this design for super magnets... A much more elegant solution.
These are excellent for this type of application, and it was a simple task of glassing and rosining them to the backside of the dash blank. Fixing will be with butterfly nuts and washers.
Then, with the dash blank in place, I rechecked for the centre point, and when I was as happy as I could get, I got a couple of bricks and a piece of wood to simulate the seat position.
I then blue-tacked 1:1 scale paper gauges, warning lights and switch templates onto the blank to make sure I could see them through the steering wheel -which was a piece of garden hose and a cardboard cutout of what I was going to get…
...So far so good!


Rechecked the dash blank positioning and the position of the lower supporting cross-rail and the steering column, and the last thing I had to do was to trim and fettle the lower inner 4 of 10 edge of the steering column hole to make sure the supporting cross-rail sat snugly. I then removed the dash blank, for the umpteenth time, and marked it up properly before drilling the holes.
Drilling for the gauges, switches and warning lights was uneventful, but measuring up was mind-numbing. Then, after trial-fitting the small warning lights, it was painfully apparent I had to think up a Plan ‘B’ for fitting these.
My chrome bezelled LED warning lights have only a 2 mm diameter lip, so I needed to firm things up a bit. Yes, the holes were the right size, give or take a smidgen, but due to the vagaries and crumbliness of the GRP rough edges, I realised the lip was not good enough for this type of warning light and the temporary padding I was putting on for IVA.
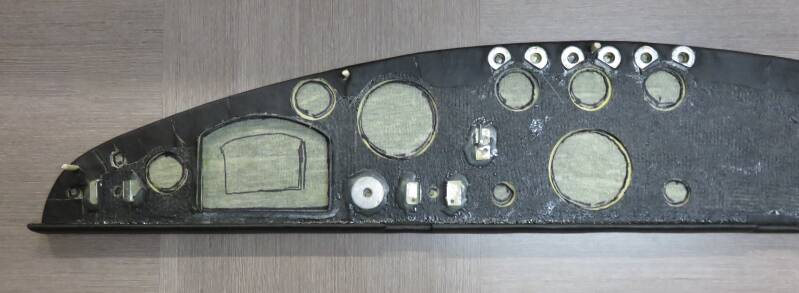

So, to ensure the padding wouldn’t pop out from under the lip, and to provide a firmer fixing foundation, I rosined a washer to the back of each hole to firm things up.
For this, I drilled out some penny washers and stuck them on the back of the dash blank with some epoxy resin…This was a hugely fiddly job but one that needed doing… And yes… fixing in the dashboard is the easy bit, but getting it to where I could actually fix it in with all the gubbins in place took an absolute age. 😳
4. Upholstery: My first iteration of covering is black vinyl. Bought this for five quid from a local fabric remnant shop.
I will fit my proper unpadded leather covering post-IVA. I’m not risking the good stuff until I’m happy with the layout.

Carrying on… Sticking on the foam padding was quite time-consuming. I stuck everything on with contact adhesive, making sure everything was at room temperature. And as stated, as I’m going to replace the covering -post-IVA- and fit my proper leather, and to make life a lot easier when I actually do it, I first covered the dashboard blank with some fabric.
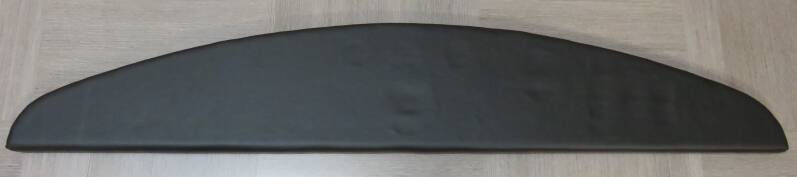
The theory is that the fabric, the thin foam sheet, and the vinyl will peel off ‘as one’. Had I stuck the thin foam sheet directly to the dashboard blank, it would have been a nightmare getting all those residual stuck-on bobbly-bits off. The vinyl went on quite easily, the trick being not to do it in one, and to ensure the contact adhesive had properly ‘gone off’ before sticking anything to anything. Continuing…
When everything was completely dry, I very carefully trimmed the vinyl for the gauges and other things. This was really fiddly and was one of those jobs where there was no second chance. And what now seems like common practice throughout my build, this part of the build also took an absolute age to do…
But as the dashboard is a primary focus area when first looking in the car, it had to be ‘properly’ spot-on.
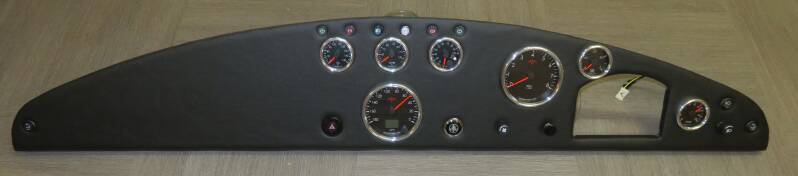
And the finished article... 😎
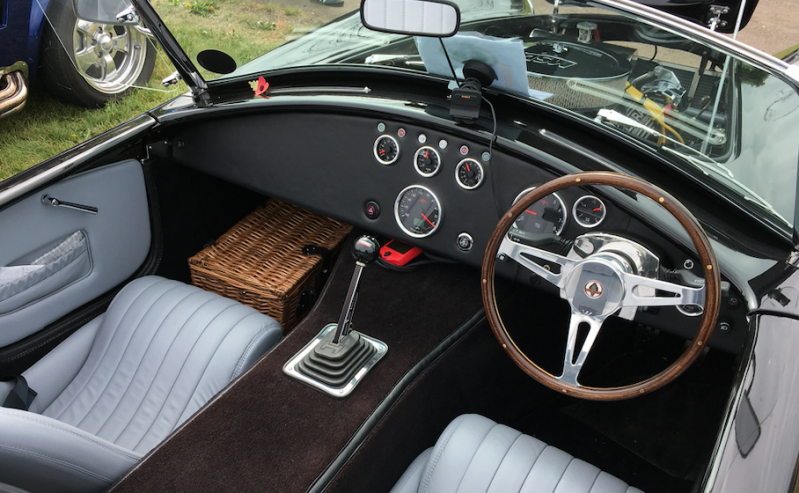
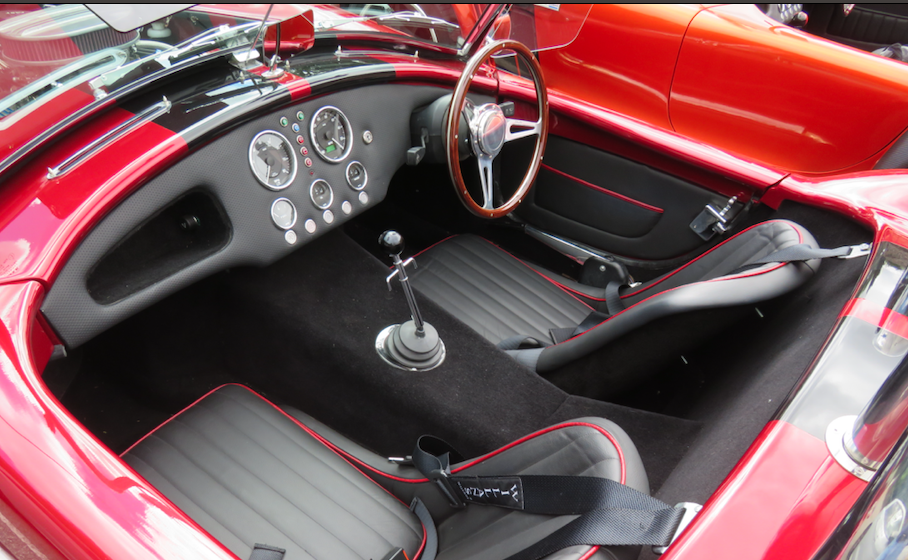
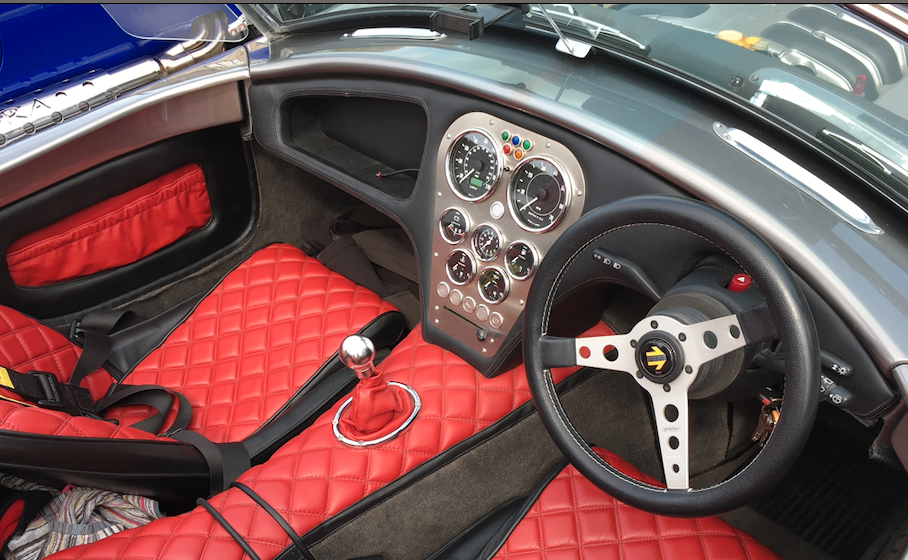
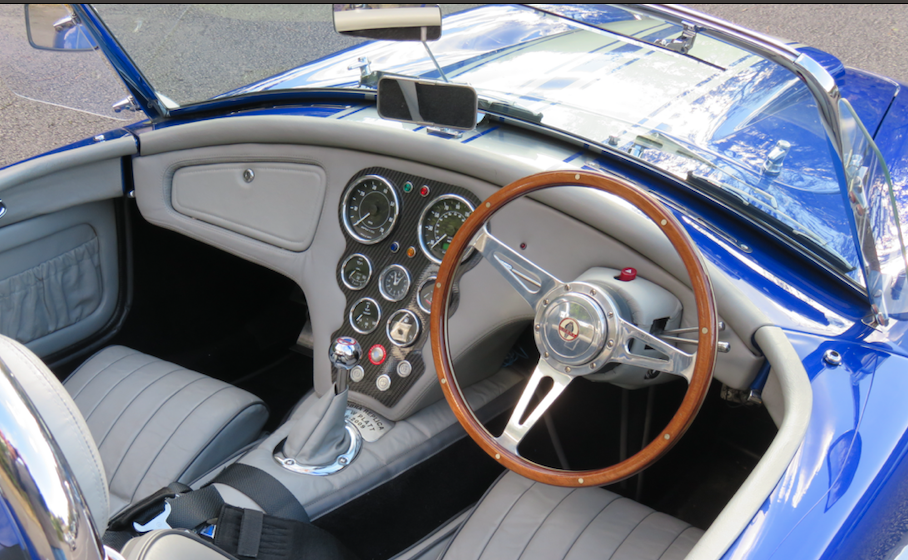
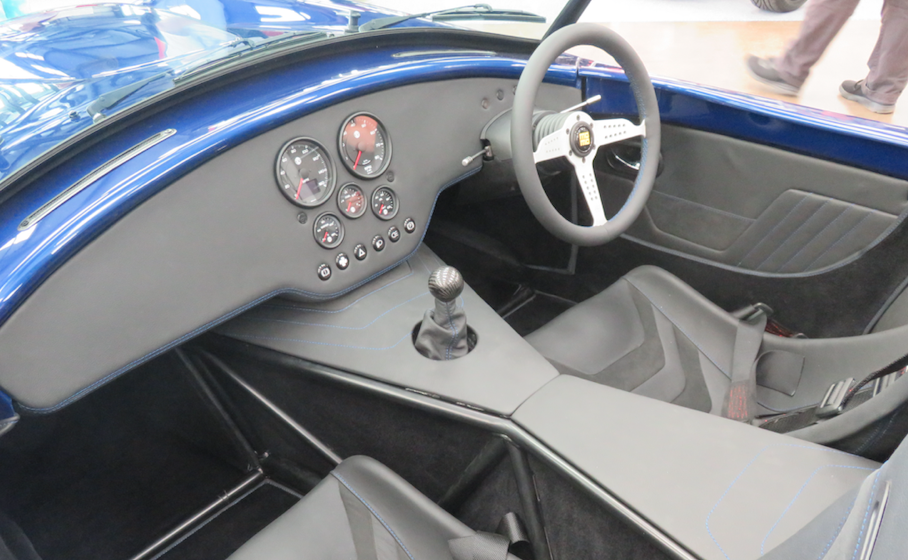
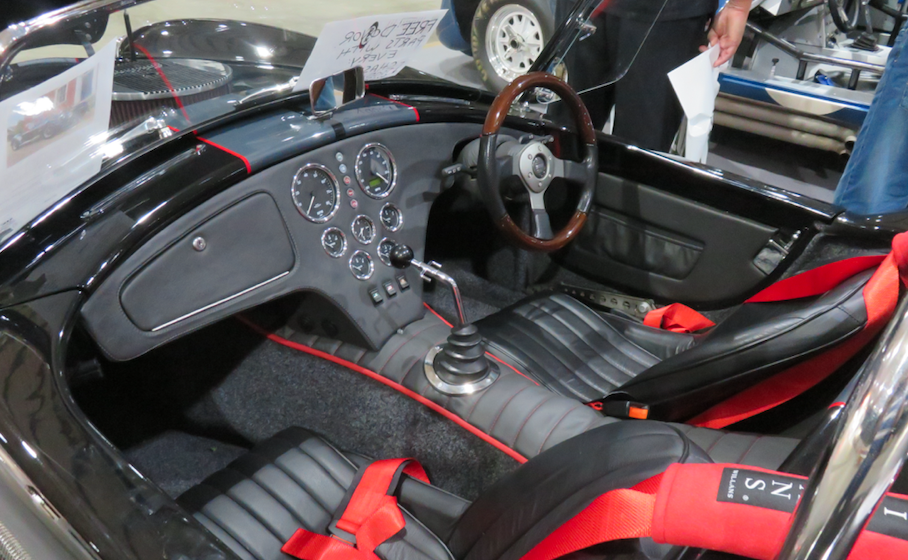
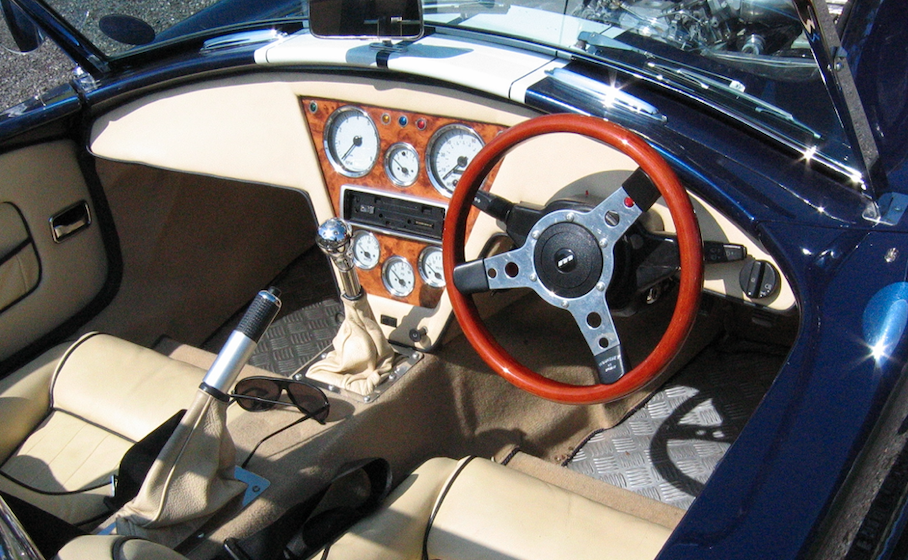
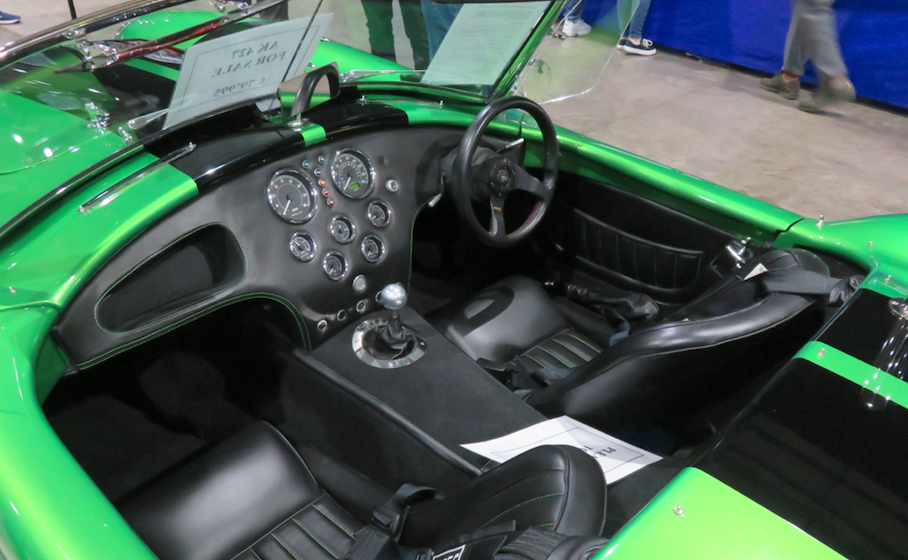
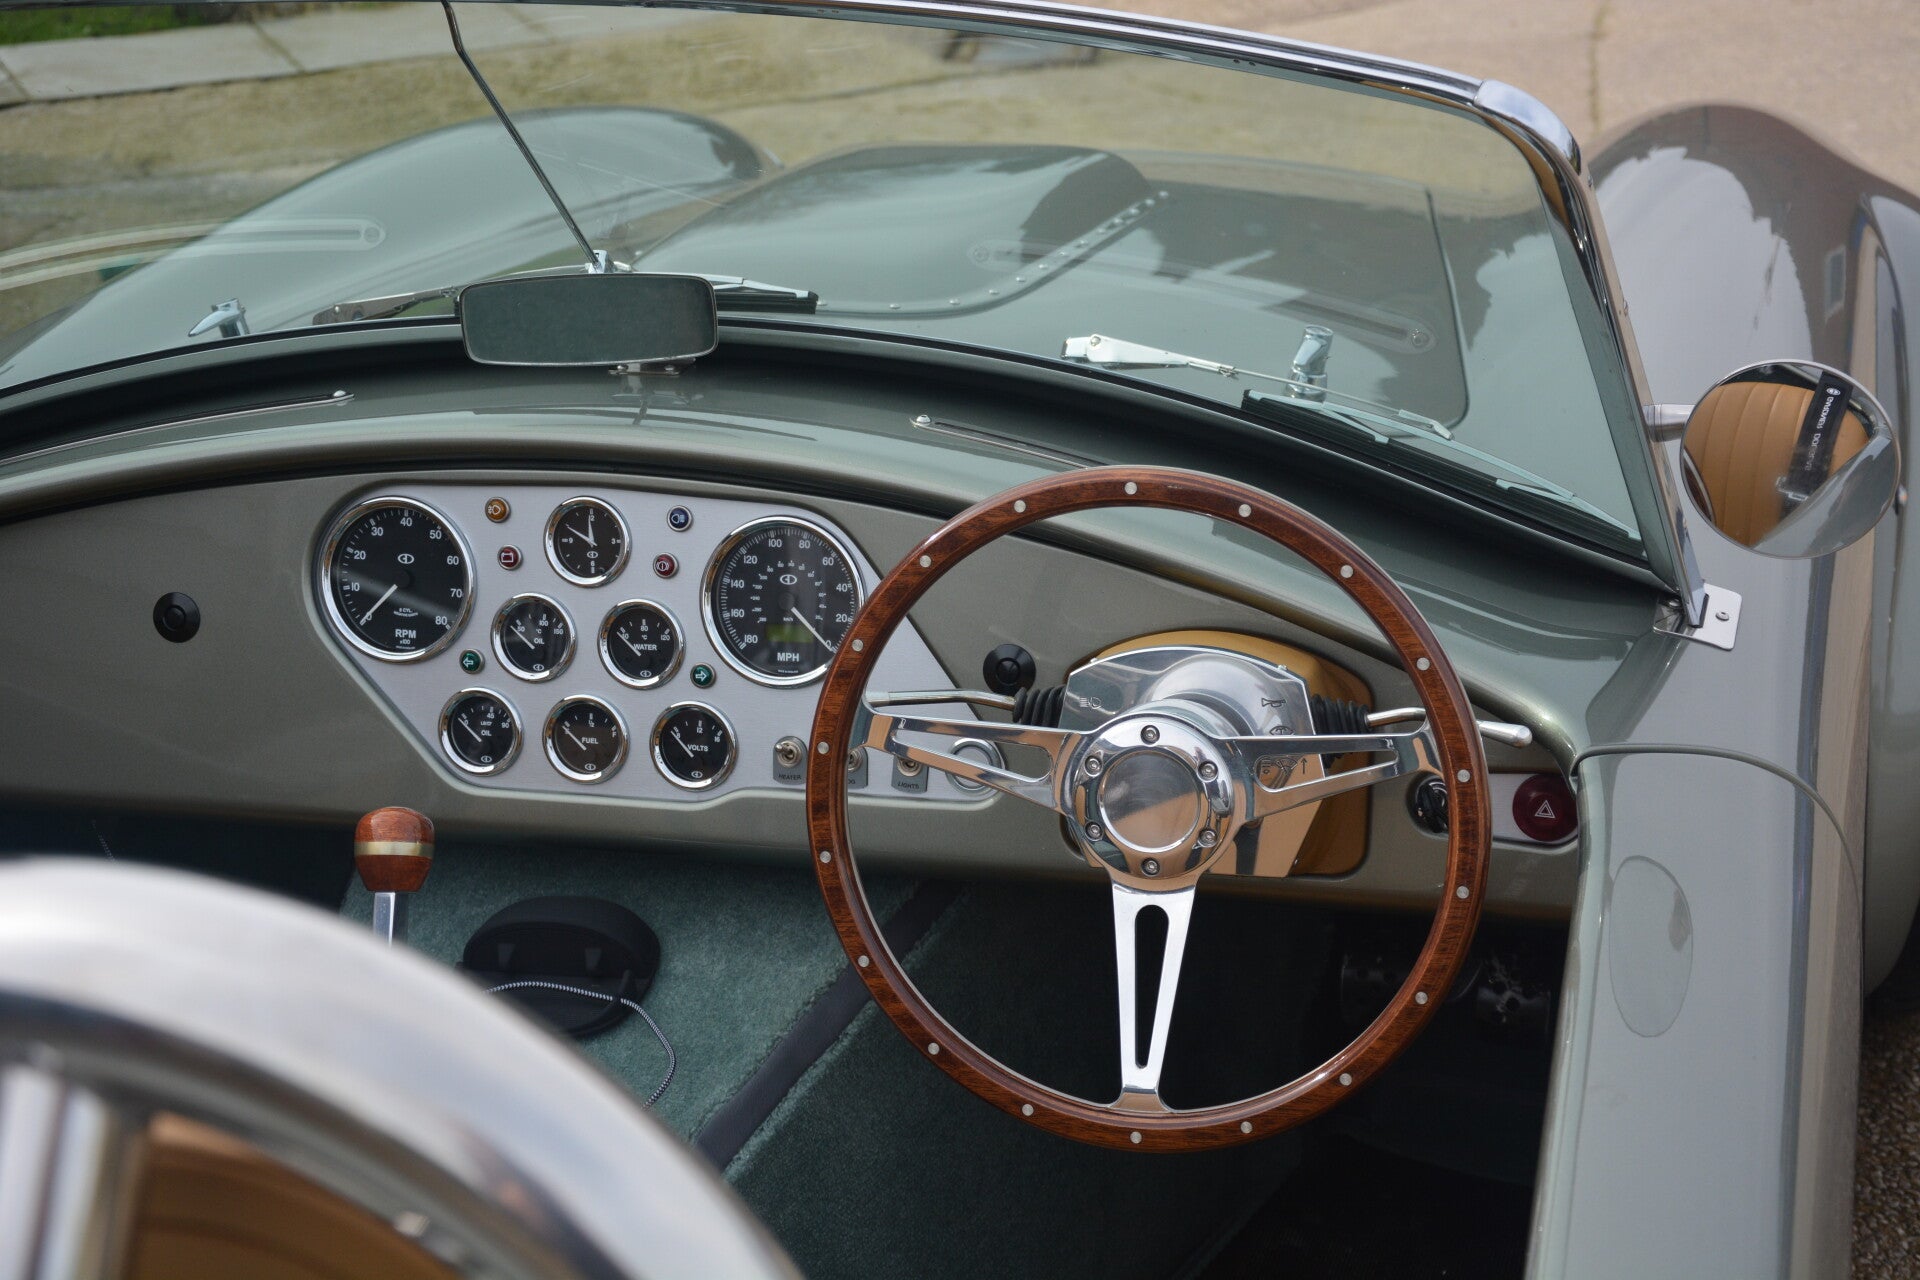
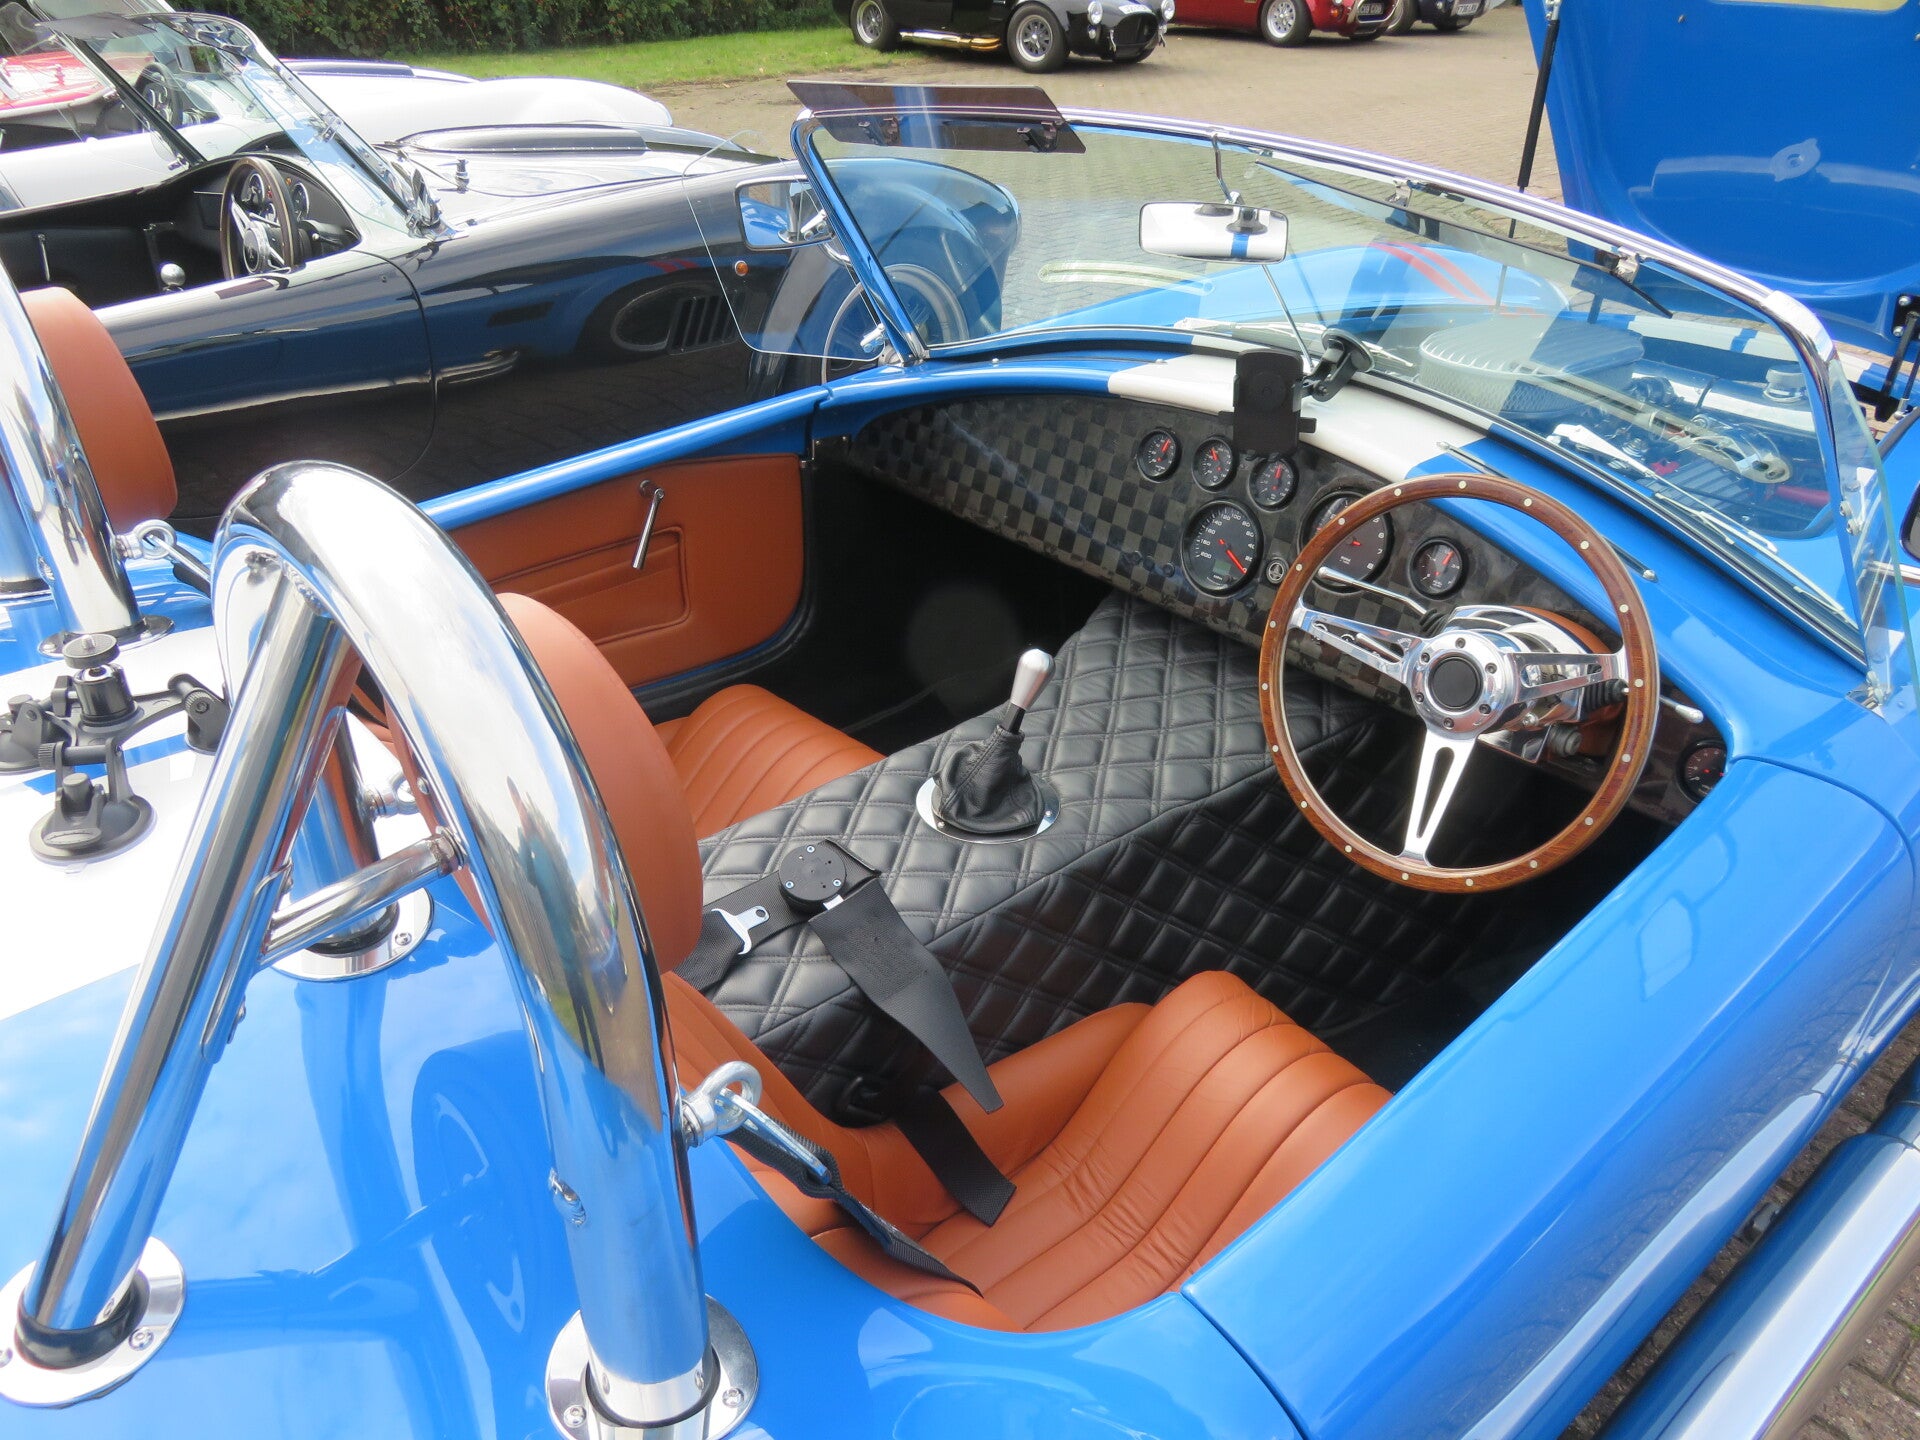
Some Other Builder/Owners' Dashboards